


Capture The Night Sky
Daniel Gangur호주
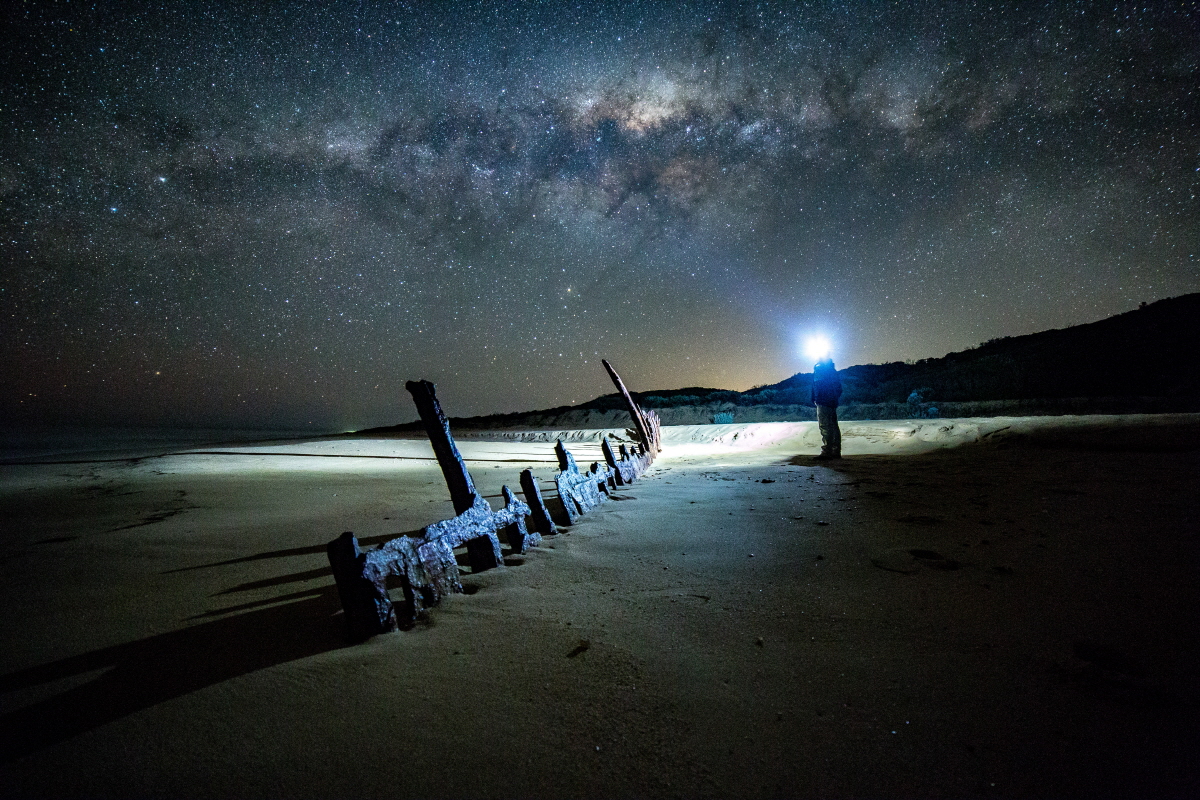
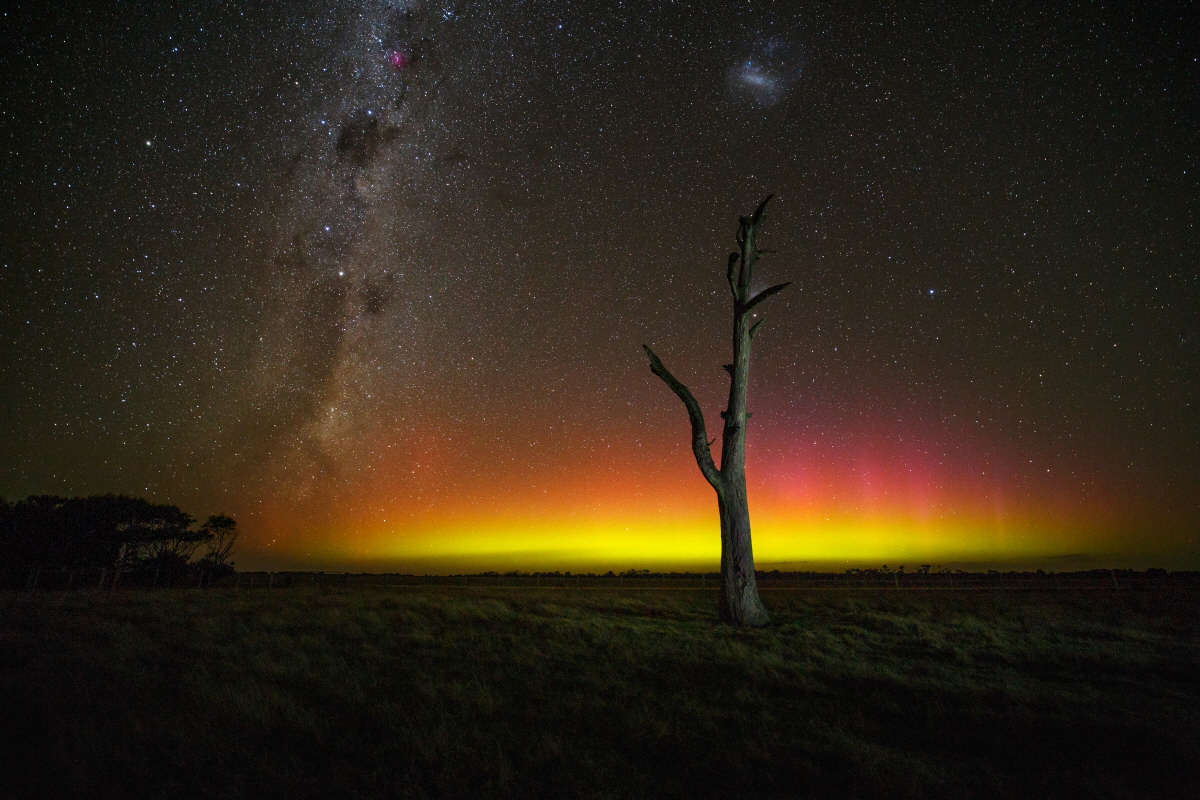
Samyang 14mm f2.8 – Settings 14mm, f2.8, 20sec, iso6400
Hi I’m Daniel Gangur,
ambassador for Samyang Optics Australia, my main interest in photography is capturing Aurora and the Night Sky. I write tutorials, blogs and gear reviews at ;www.gippslandimages.com.au
I have been using Samyang lenses for Aurora and Astro photography for about 6 years after purchasing the Samyang 14mm f2.8 for Aurora photography as it was such a great value lens for it’s performance, it still is. It is a lens I still use today along with quite a few other fast aperture Samyang wide angle primes. I’m often asked how to go about taking images of the night sky so this blog post will be a quick tutorial for those new to capturing the stars, hopefully this will give you the basics you need to shoot the stars yourself.
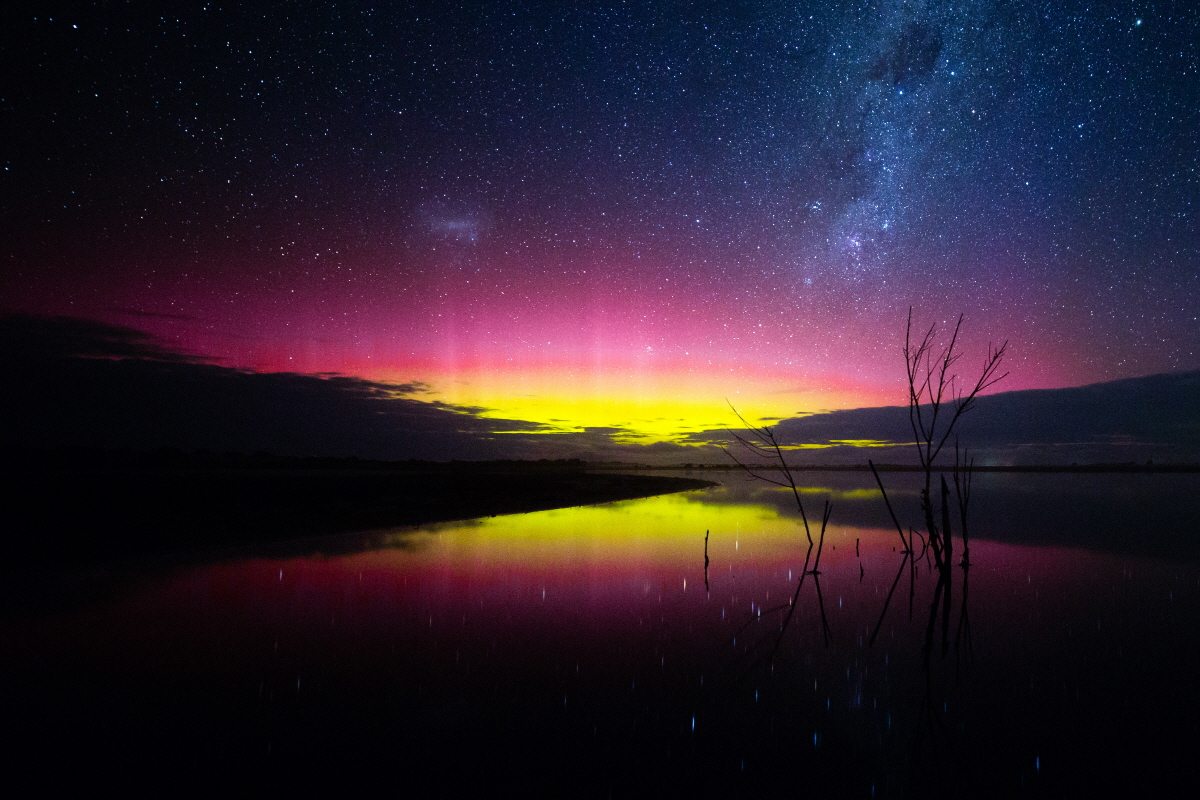
Samyang 14mm f2.8 – Settings 14mm, f2.8, 25sec, iso 3200
So where do we start?
There are a few things that are needed for capturing the night sky and getting pin point sharp stars apart from just your camera. A sturdy tripod is really important and so is a lens that gathers a lot of light. We need a sturdy tripod as it is our solid base for the camera allowing us to shoot long exposures, the sturdier the better as it helps us get sharp images even in windy conditions. A lens with a fast, wide aperture allows us to gather enough light to capture the stars without star trailing. Samyang’s primes are perfect for this, not only do Samyang’s lenses offer fast wide apertures but they also control coma very well. Coma is an aberration that causes stars to distort, not something we want, many of Samyang’s lenses perform better than much more expensive lenses when it comes to coma.
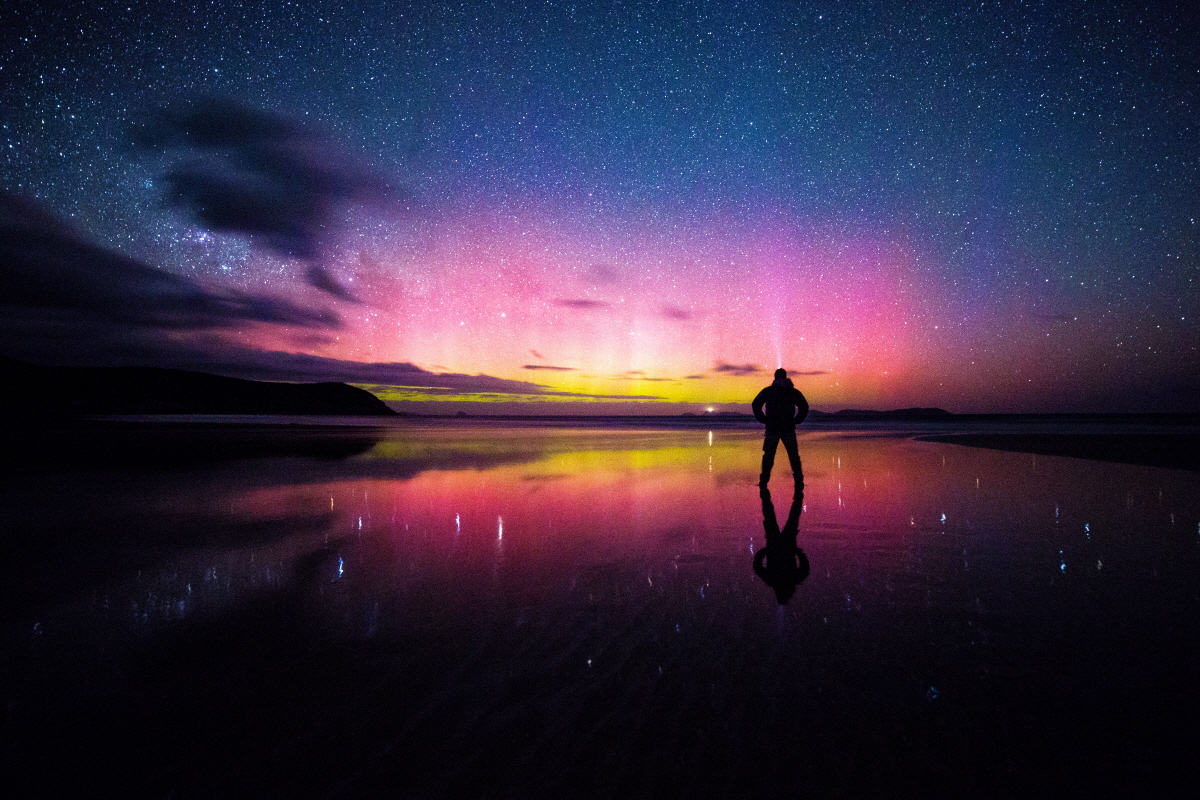
Aurora Australis – Samyang 14mm f2.8 – Settings 14mm, f2.8, 20sec, iso6400
The 500 rule
Technique, to help us get sharp stars there is a rule called the 500 rule. It helps us to work out the longest shutter speed we can use with a certain focal length lens and still get sharp pin point stars with our long exposures. How does it work? it is simply 500 divided buy our focal length, so 500/focal length = longest shutter speed we can use.
We will use a Samyang 14mm f2.8 lens as our example. On a full frame camera this is how we would work out the longest shutter speed we can use without star trailing, 500/14 = 33.3 so the longest shutter speed we can use without star trailing is 33 seconds.
If we are using a crop sensored camera we would have to also take this into account before using the above 500 rule. So using a Canon crop sensor camera we would first multiply our focal length by 1.6, so 14 x 1.6 = 22.4. We would use this number, 22 as our focal length in the above equation like this,
500/22 = 22.7 ;;;; so the longest shutter speed we could use without trailing on a Canon crop sensor body is approx 23 seconds.
Each manufacturers crop factor is slightly different, a quick google search will help you if you are unsure about your particular cameras crop factor.. Personally I feel the 500 rule is more of a guide of where to start with your shutter speeds with any particular focal length, often a slightly shorter exposure will get sharper more pin point stars, so use this rule as a starting point and adjust as you become more experienced, the more you get out there taking images the more you will learn what works best for different lenses.
But what about aperture and iso?
I have just shown you how to choose an appropriate shutter speed but we have a few other settings we also need to work out, ISO and Aperture. To choose an aperture simply choose the widest, fastest aperture your lens is capable of, as our example is the Samyang 14mm f2.8 lens our widest fastest aperture is f2.8, this aperture will allow us to capture the most light. For our ISO we need a high iso to help capture the stars so choose iso 1600 as a start point, if this isn’t getting enough detail change it to iso3200 or iso6400 or if it is too bright, take the iso back to iso800.
So now we have our basic settings to capture the night sky, the settings would look something like this, 14mm, f2.8, 33 seconds, iso1600.
How do we focus?
There are two ways that I personally use. The first way is to set my lenses focus ring to the infinity mark, this is a quick but not always a perfect way. The second is to use your cameras live view screen, magnify the screen so you can see the stars up close on the screen and then manually focus your lens until they are sharp. I have a quick tutorial on both these techniques on my website www.gippslandimages.com.au
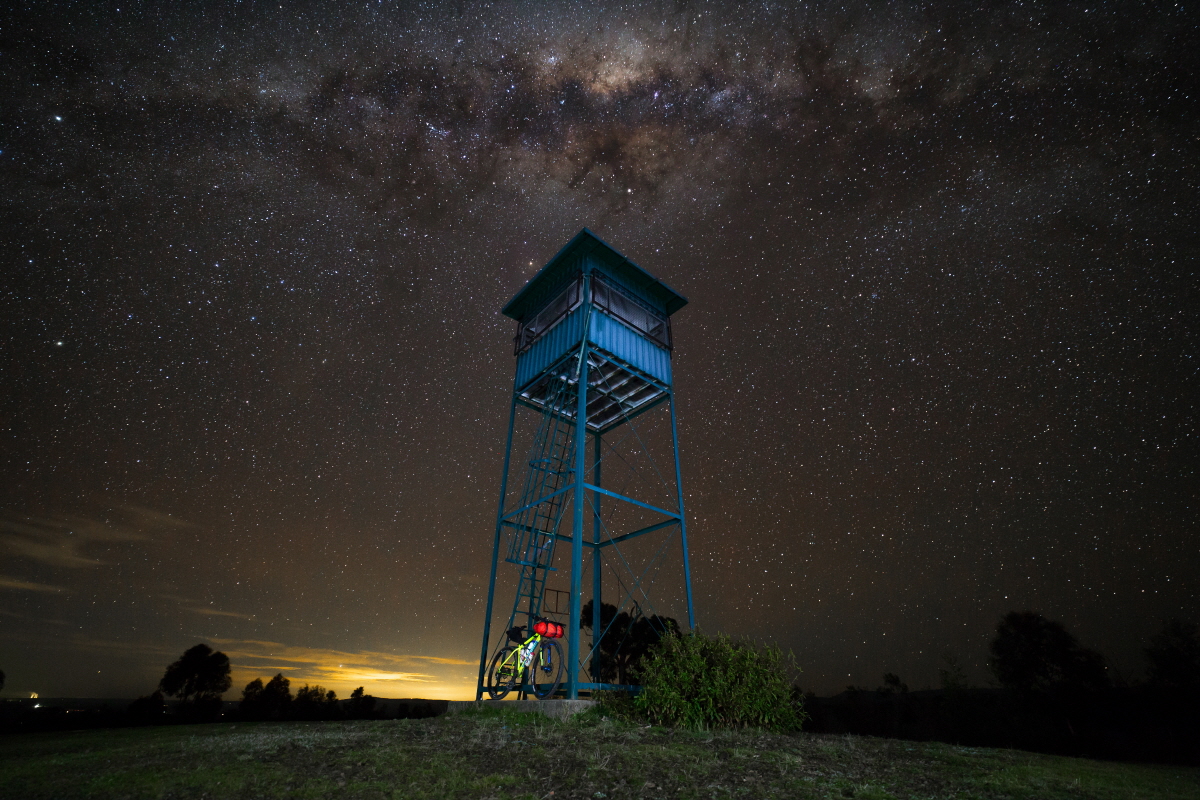
Samyang XP 14mm – Settings 14mm, f2.4, 20sec, iso3200
Putting this into practice.
Now we have an idea of the basic equipment, technique and settings we can use that knowledge to shoot images of the stars. I will go through the basic steps I took to take the above image of my bike, tower and milkyway. In the above image I set my tripod, camera and Samyang XP 14mm f2.4 lens up. I used a torch to help me compose the shot, getting the tower into the right position. I then set my camera in manual and changed the settings, I chose an f2.4 aperture as it is the widest aperture on the Samyang xp 14mm f2.4 lens. I then chose a shutter speed of 20 seconds, yes I could of used a slightly longer shutter speed but I like to use a bit faster speeds for less trailing and sharper stars. I then chose an iso of 3200, from experience I know this helps me achieve a good exposure. I also set the cameras 2 second timer to stop any camera shake causing blur from pressing the shutter button. I then focussed using the live view method and took a shot. The first shot wasn’t quite composed how I wanted so I recomposed and took another shot, during the 20 second exposure I used my head lamp to shine light on the tower and bike, the shot above was the result.
Samyang XP 14mm f2.4 – Settings 14mm, f2.4, 20sec, iso3200
Hopefully this blog has been useful and helps you on your way to taking amazing images of the night sky, something I truly enjoy. I will say these settings and techniques are just a very basic starting point, the more practice, the more you will refine the settings and techniques and the better your images will become. Best of luck with your night sky photography, Daniel Gangur.
- 이전 글이전 글이 없습니다.
- 다음 글다음 글이 없습니다.